Recording internal audio is a pivotal aspect of modern digital communication and content creation. It plays a crucial role in capturing and preserving various forms of digital content, enhancing communication, and ensuring accountability in numerous scenarios. Internal audio refers to the sound generated by computer applications, software, and system processes, making it essential for a multitude of purposes.
In the realm of content creation, internal audio recording is indispensable for producing high-quality tutorials, online courses, and software demonstrations. It enables creators to explain complex concepts, guide users through intricate processes, and provide engaging educational content. Additionally, gamers rely on internal audio recording to share their gaming experiences, strategies, and reactions with their audience, fostering a vibrant gaming community.
Furthermore, internal audio recording holds significant importance in the corporate world, facilitating the documentation of virtual meetings, webinars, and conference calls. This ensures that critical discussions, decisions, and presentations are accurately preserved for future reference and compliance purposes.
In legal and customer service contexts, recording internal audio serves as a valuable tool for maintaining accurate records of interactions, helping to resolve disputes, and ensuring adherence to industry regulations and standards. In healthcare, it aids in the creation of detailed patient records and enhances telemedicine consultations.
In essence, recording internal audio is integral to modern communication, education, entertainment, and compliance, making it a fundamental aspect of our digital age.
Why Record Internal Audio?
Recording internal audio serves various purposes across different domains, enhancing communication and content creation in numerous ways.
- Presentations and Tutorials:Internal audio recording is essential for creating informative and engaging presentations and tutorials. Content creators can capture their voice alongside on-screen actions, making it easier to explain complex topics, demonstrate software usage, and provide step-by-step guidance. This is particularly valuable for educators, trainers, and professionals who want to produce high-quality educational materials.
- Gaming and Streaming Purposes:Gamers and content creators in the gaming community rely heavily on internal audio recording. It allows them to record in-game audio, commentary, and reactions, enabling the creation of Let’s Play videos, walkthroughs, and live streams. This immersive experience enhances viewer engagement and fosters a vibrant gaming community.
- Capturing Audio from Online Sources:Internal audio recording is indispensable for capturing audio from online sources such as streaming platforms, webinars, and podcasts. It enables users to save audio content for offline listening, review webinars or online lectures, and create compilations or remixes.
Overall, recording internal audio empowers individuals and professionals in various fields to create compelling content, share knowledge, and preserve valuable audio resources. Whether it’s for education, entertainment, or information sharing, the ability to record internal audio significantly enriches the digital experience.

Built-in Tools in Windows 10
Windows 10, Microsoft’s popular operating system, comes equipped with a range of built-in tools and features that make it easy to record internal audio for various purposes. Whether you want to create tutorials, record gaming sessions, or capture audio from online sources, Windows 10 offers versatile options without the need for third-party software. Two primary tools for audio recording in Windows 10 are the Voice Recorder app and the Game Bar.
Using Windows 10’s Built-in Tools for Audio Recording
Method 1: Using the Voice Recorder App
- Access the Voice Recorder App:Click the Windows Start button and type “Voice Recorder” in the search bar. Select the Voice Recorder app from the results.
- Configure Settings:Before you start recording, you can adjust settings such as audio quality and storage location by clicking on the gear icon in the app.
- Start Recording:Click the red “Record” button to start recording internal audio. You can speak or play audio from your computer, and the app will capture it.
- Stop and Save:When you’re done recording, click the square “Stop” button. The recorded audio will be automatically saved with a date and time stamp.
- Access Recordings:To access your recordings, open the Voice Recorder app and click on the three horizontal lines (menu icon) in the top-left corner. Select “Open folder” to view your saved recordings.
Method 2: Using the Game Bar (For Gaming and Apps)
- Open Game Bar:While playing a game or using an application, press the Windows key + G to open the Game Bar overlay.
- Start Recording:In the Game Bar overlay, click the red “Record” button to begin capturing internal audio. The Game Bar will record both audio and video from your screen.
- Stop Recording:To stop the recording, click the square “Stop” button on the Game Bar overlay.
- Access Recordings:Your recordings are saved in the “Captures” folder, typically located in your Videos library. You can access them through the Game Bar or directly in the folder.
These built-in tools are user-friendly and provide a convenient way to record internal audio in Windows 10. Whether you’re recording your voice, gameplay, or any audio from your computer, Windows 10’s Voice Recorder app and Game Bar are versatile options. Additionally, they eliminate the need for third-party software, making audio recording accessible to all Windows 10 users.
Third-Party Tools
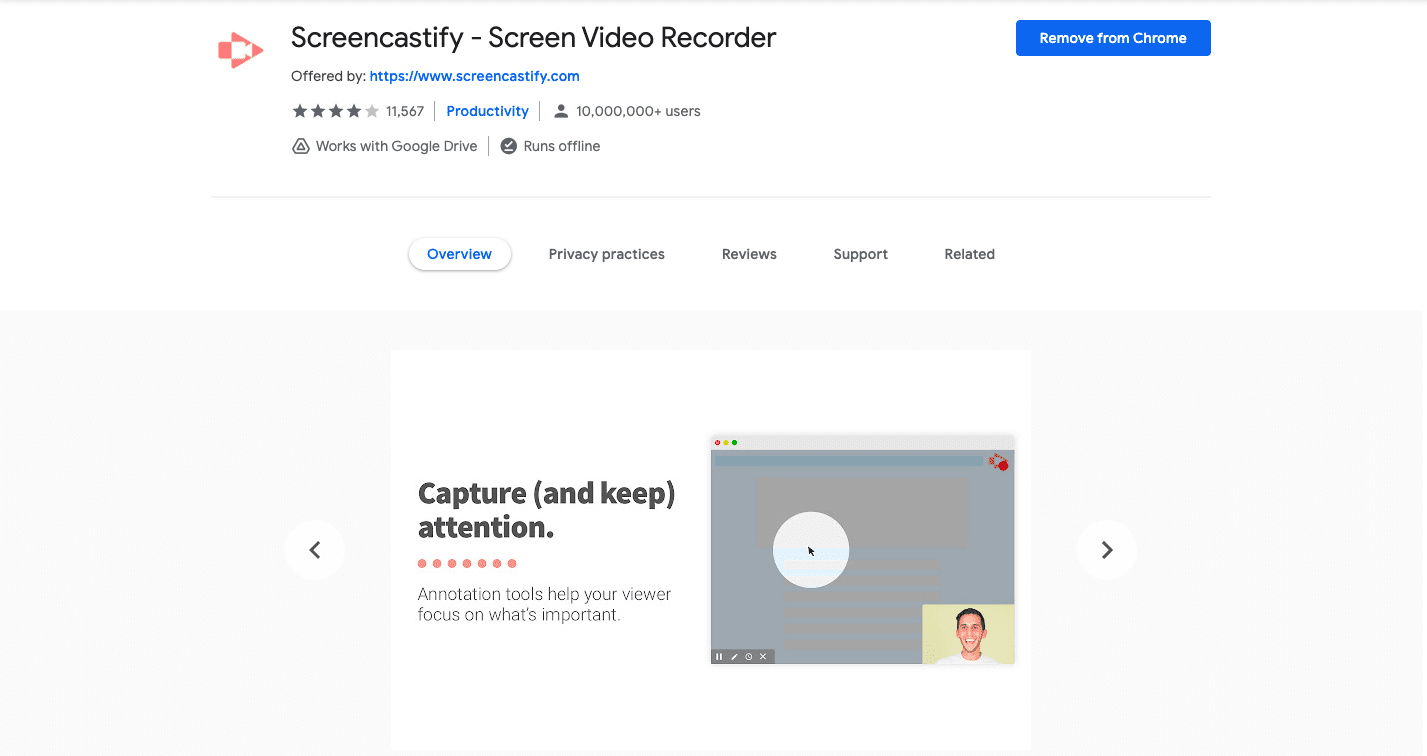
While Windows 10 provides built-in solutions for audio recording, third-party tools offer additional features and customization options. These tools are especially useful for those who require advanced functionality and versatility. Here, we’ll explore two notable third-party tools for audio recording in Windows 10, the Screen Recorder extension for Chrome and Chrome Audio Capture, along with a mention of other alternatives.
Screen Recorder Extension for Chrome:
Features and Benefits:
The Screen Recorder extension for Chrome is a powerful tool that extends the capabilities of Google Chrome for recording not only video but also internal audio from web pages. Here’s what makes it stand out:
- Simple Integration:As a Chrome extension, it seamlessly integrates with your web browser, making it easy to capture audio directly from websites and web applications.
- Versatile Recording:This extension allows you to record both video and internal audio simultaneously, which is especially valuable for recording online video conferences, webinars, and streaming content.
- Customizable Settings:You can adjust various recording settings, including video quality, frame rate, and audio source, to tailor the recording to your specific needs.
- User-Friendly Interface:The extension features a user-friendly interface with intuitive controls for starting, pausing, and stopping recordings.
How to Use It:
- Install the Extension:Go to the Chrome Web Store, search for “Screen Recorder,” and click “Add to Chrome” to install the extension.
- Configure Settings:Click on the extension icon in your Chrome toolbar and select the desired recording settings.
- Start Recording:Click the “Record” button to start recording audio and video from the current webpage.
- Stop Recording:Click the “Stop” button to end the recording. The recorded content is typically saved in the default Chrome Downloads folder.
Chrome Audio Capture:
Features and Benefits:
Chrome Audio Capture is another Chrome extension designed specifically for capturing internal audio from web pages. It offers a streamlined and efficient approach to audio recording:
- Focused Audio Capture:Unlike full-screen recorders, Chrome Audio Capture is dedicated solely to capturing audio, allowing you to isolate and record just the sound from web pages.
- Seamless Integration:As with Screen Recorder, it integrates seamlessly with Google Chrome, ensuring compatibility with various web applications and platforms.
- Simplicity:Chrome Audio Capture is exceptionally easy to use, with a minimalistic interface. It’s ideal for those who only need to capture audio.
How to Use It:
- Install the Extension:Visit the Chrome Web Store and search for “Chrome Audio Capture.” Add the extension to your Chrome browser.
- Start Recording:Click the extension icon in your Chrome toolbar while visiting a webpage with the audio you want to capture. Then, click the “Start Capture” button.
- Stop Recording:To stop capturing audio, click the “Stop Capture” button. The audio file will typically be saved in the default Chrome Downloads folder.
Other Notable Third-Party Tools:
In addition to the above tools, several other third-party applications are available for audio recording in Windows 10:
- Audacity:Audacity is a popular open-source audio recording and editing software that offers advanced features for professional users. It provides a wide range of recording options and editing capabilities.
- OBS Studio:Originally designed for game streaming, OBS Studio is a versatile tool for capturing both audio and video. It’s highly customizable and suitable for various recording and streaming needs.
- Camtasia:Camtasia is a professional screen recording and video editing software that allows for high-quality audio recording along with video. It’s well-suited for creating educational content and tutorials.
- Apowersoft Free Online Audio Recorder:If you prefer an online solution, Apowersoft offers a free web-based audio recorder that can capture audio from your computer or external sources. It’s simple to use and doesn’t require any software installation.
In conclusion, third-party tools offer a range of features and benefits that go beyond the built-in solutions in Windows 10. The Screen Recorder extension for Chrome and Chrome Audio Capture are excellent choices for capturing internal audio from web pages, while alternatives like Audacity, OBS Studio, and Camtasia provide more extensive recording and editing capabilities for various needs. Depending on your specific requirements, you can choose the tool that best suits your audio recording needs in Windows 10.
Application-Specific Audio Recording
Application-specific audio recording, sometimes referred to as selective or targeted audio recording, is a technique that allows you to record audio output from specific applications or browser tabs while excluding other sounds from your computer. This capability is particularly useful when you want to capture audio from a specific program, game, or browser tab without recording background noises or sounds from other applications.
How to Record Audio from Specific Applications or Tabs
To record audio from specific applications or tabs, you can use a combination of software and settings tailored to your needs. Here’s a general guide on how to do it:
- Windows Sound Settings:
- Access Sound Settings:Right-click on the speaker icon in the Windows taskbar and select “Open Sound settings.”
- Choose Output Device:Scroll down to the “Output” section and choose the output device (e.g., speakers or headphones) you want to use for audio playback.
- App Volume and Device Preferences:Click on “App volume and device preferences.” Here, you can adjust the volume levels for individual apps and select the output device for each app. Set the desired output device for the application you want to record from.
- Third-Party Software:
- Download and Install: Install third-party audio recording software like Audacity, OBS Studio, or a dedicated audio recorder.
- Configure Recording Settings:In the software, configure the recording settings to capture audio from the specific application or source you want to record. You may need to specify the audio source as the application or browser tab you want to capture.
- Start Recording:Begin the recording process in the software. Ensure that the specific application or tab you want to record is producing audio during this time.
- Stop and Save:After recording, stop the capture in the software and save the recorded audio to your desired location.
Benefits of Application-Specific Audio Recording
- Noise Isolation:One of the primary benefits of application-specific audio recording is noise isolation. It allows you to record audio from a specific application while ignoring background noises, system sounds, or other running applications. This is especially useful for creating high-quality recordings, such as podcasts or professional tutorials.
- Resource Efficiency:By recording only the audio from the desired application, you save system resources. This can lead to smoother recordings and a more efficient use of your computer’s processing power and memory.
- Enhanced Clarity:When you record audio from a single application or tab, you ensure that the recorded content is clear and free from interference. This is crucial for creating polished and professional audio content.
- Privacy and Security:Application-specific audio recording can help protect privacy and security. You can record audio from web conferences, meetings, or presentations without capturing unrelated or sensitive information from other sources.
- Customization:This method allows you to customize your recording setup to match your specific needs. You have control over which application’s audio you want to capture, making it a versatile solution for various recording scenarios.
In summary, application-specific audio recording is a valuable technique that provides control, clarity, and customization when capturing audio from specific applications or browser tabs. It’s a practical approach for content creators, professionals, and anyone who wants to record audio with precision while eliminating unwanted background noise and interference.
High-Quality Audio Recording
High-quality audio is crucial in various contexts, from content creation to professional communication. It enhances the overall experience for both creators and consumers of audio content. Here’s why good audio quality is essential:
- Audibility and Clarity:Good audio ensures that your message is heard clearly, without distortion or background noise. This is particularly important for educational content, presentations, podcasts, and music production.
- Engagement:High-quality audio captivates the audience and keeps them engaged. In media, such as films and podcasts, poor audio quality can lead to disinterest and decreased viewer or listener retention.
- Professionalism:In professional settings, clear audio demonstrates competence and professionalism. It’s vital for video conferencing, webinars, and business presentations.
- Brand Image:For businesses and content creators, good audio quality contributes to a positive brand image. It reflects a commitment to excellence and can attract a larger audience.
Tips and Tricks for High-Quality Audio Recording:
- Invest in Good Microphones:A quality microphone is the foundation of good audio. Consider a condenser microphone for studio recording, lavalier microphones for presentations, and noise-canceling microphones for online meetings.
- Select a Quiet Location:Record in a quiet environment with minimal background noise. Use noise-cancelling materials or software if necessary.
- Use Pop Filters:Pop filters reduce plosive sounds (like “p” and “b” sounds) and help eliminate unwanted noise caused by bursts of air hitting the microphone.
- Adjust Microphone Placement:Position the microphone correctly, typically a few inches away from your mouth, to capture your voice effectively.
- Monitor Levels:Use headphones to monitor audio levels and ensure they are not too loud or too quiet. Avoid audio clipping (distortion) by keeping levels in check.
- Control Room Acoustics:If recording in a room, consider acoustic treatments like foam panels to minimize sound reflections and echo.
- Choose the Right Recording Format:Use uncompressed or lossless audio formats (e.g., WAV or FLAC) for the highest audio quality during recording. Compressed formats (e.g., MP3) can degrade quality.
- Proper Gain Staging:Adjust the gain (input volume) on your audio interface or mixer to avoid overloading the input, which can lead to distortion.
Potential Issues and How to Avoid Them:
- Background Noise:Unwanted noise can be a significant problem. Use noise gates to automatically mute the microphone when you’re not speaking, or address noise issues during post-production with noise reduction tools.
- Echo and Reverb:Recording in a room with poor acoustics can result in echo or reverb. Add soft furnishings or use acoustic panels to minimize these issues.
- Distortion:Distortion occurs when the audio input is too loud, causing clipping. Adjust the input gain to prevent distortion.
- Mic Handling Noise:Avoid handling the microphone during recording, as this can create unwanted noise. Use a shock mount or a stable microphone stand to minimize vibrations.
- Uneven Levels:Inconsistent audio levels can be jarring for listeners. Use compression and volume automation during post-production to smooth out level discrepancies.
- Sibilance:Sibilance (harsh “s” and “sh” sounds) can be mitigated with a de-esser during post-processing.
In conclusion, achieving high-quality audio recording is essential for effective communication, engagement, and professionalism in various settings. By investing in the right equipment, selecting the appropriate recording environment, and addressing potential issues during recording and post-production, you can ensure that your audio content is clear, engaging, and of the highest quality.
Converting and Editing Recorded Audio
After recording audio, the next crucial step is post-processing, which involves tasks like editing and converting the recorded audio. These processes are essential for refining audio quality and ensuring compatibility with different devices and platforms.
Tools and Software Recommendations for Editing:
- Audacity:Audacity is a popular open-source audio editing software that offers a wide range of features, including audio trimming, noise reduction, equalization, and multi-track editing. It’s user-friendly and suitable for beginners and professionals alike.
- Adobe Audition:Adobe Audition is a professional-grade audio editing software that provides advanced tools for editing, mixing, and mastering audio. It’s a top choice for audio professionals and creators.
- GarageBand:If you’re a Mac user, GarageBand is a user-friendly and powerful audio editing tool that comes pre-installed on macOS devices. It’s great for music production and podcast editing.
- Reaper:Reaper is a versatile digital audio workstation (DAW) that offers robust editing and mixing capabilities. It’s highly customizable and suitable for various audio recording and editing tasks.
Steps to Convert Recorded Audio to Different Formats:
- Choose a Conversion Tool:Use software like Audacity, Adobe Audition, or online audio converters for format conversion.
- Import Audio:Open the chosen software and import the recorded audio file you want to convert.
- Select Output Format:Navigate to the export or save options in the software and choose the desired output format. Common formats include MP3, WAV, FLAC, AAC, and more.
- Adjust Settings (Optional):Some software allows you to customize the output settings, such as bitrate, sample rate, and quality. Adjust these settings according to your preferences.
- Export/Save:Click the “Export” or “Save” button to initiate the conversion process. Specify the destination folder where you want to save the converted file.
- Wait for Completion:The software will process and convert the audio file. The time required depends on the file size and the chosen format.
- Verify the Result:After conversion, open and play the newly created file to ensure it meets your expectations and plays correctly in the desired format.
- Organize and Backup:Finally, organize your audio files and consider creating backups to prevent data loss.
In conclusion, post-recording processes, including editing and format conversion, are crucial for refining and distributing your recorded audio content. Choose the right editing software for your needs, follow the steps for format conversion, and ensure your audio files are optimized for playback and sharing on various platforms.
In conclusion
We’ve explored the significance of recording and maintaining high-quality audio in various contexts. We’ve covered techniques for recording internal audio, the importance of good audio quality, and tips to achieve it. Additionally, we discussed post-recording processes, including editing and format conversion.
I encourage readers to put these methods into practice, whether for content creation, professional communication, or personal enjoyment. With the right tools, knowledge, and attention to detail, you can create, edit, and share audio content that captivates and communicates effectively. Experiment, refine, and let your creativity shine through the power of high-quality audio.